Showing posts with label Tutorial. Show all posts

Thursday, December 13, 2018

Swag Bags

I am working on crafts for Operation Christmas Child Boxes and wanted to revisit making small bags.  It is a great way to use up scraps of fabric.  And these swag bags work for both boys and girls...


Here is a link to original tutorial

                        http://sewdelightful.blogspot.com/2015/06/delightfully-fun-tutorial.html

Thanks sew much!!


Wednesday, June 17, 2015

Delightfully Fun Tutorial

Bag making time…


Here are the three pieces I am using to make this bag. You can use more if you like but the total cut should be 20" wide by 12" tall.  I am using a serger but you can make these using about a 1/2" seam.


The top piece will be the casing for the bag.  I made mine 2" by 21".  I am using cording so I did not need a wide casing.  If you are using ribbon adjust the width of your casing accordingly.  This piece will be finished at each end by folding over and stitching.  You want it to end up a little shorter than the bag once the bag is seamed.


Sew the different fabrics together… I enclosed my lace before sewing the side seam.
Once you have sewn the fabrics together stitch the side and bottom seams
Turn the bag right side out


Fold the casing in half length-wise and pin to the top of the bag.  Leave a very small gap… I leave this gap on the side of the bag without the seam.


Sew all the way around the bag… including over the seam so that the fabric does not ravel.


Cut a piece of ribbon or cording 36" long and finish the ends.  I used a match and slightly burnt the ends so they will not ravel.  Thread a cord or ribbon through the casing (a pin through the end of the cording or ribbon will help you thread it throughout the casing) and tie the ends securely.


Tack the ribbon or cording at the seam end so that it will not pull out.


The finished bag will be about 9 1/2" wide by 10" long

And you are finished!!

Thank you for visiting!!


Tuesday, December 17, 2013

Dress Tutorial

Instructions...  

1.  Start with a clean pillowcase or fabric tube (to make the seam on your tube either serge it, french seam it or straight stitch it and then go back and zig zag the seam).  If using a fabric tube you will need to hem your dress. 


2.  Cut off the top of the pillowcase (if using fabric tube this is not necessary) Fold the fabric in half lengthwise.  Placing armhole templates on the outside of dress cut out the armholes together.  When you open you dress you will end up with an armhole on each side.


3.  Fold down the top edge 1/4" and press (both back and front)


4.  Fold edge again... 1" to 1 ¼” and press.  This will become the neck casing for the elastic... do this on both the front and the back of the dress.  We sometimes fold the fabric over an extra ½” and add a second row of stitching which makes a cute ruffle above the casing. (but you must cut the armhole 1” longer if doing this)


5.  Sew.  The casing will fit 1/2" or 3/4" elastic.  If you are making the traditional casing, sew along the edge of the casing.  If you are making the casing with a ruffle, add a second row of stitching ½” from the top of the dress.


6.  Cut two pieces of elastic. (Use sizing chart to determine the length)


7.  Using a large safety pin thread the elastic into the casing...


8.  Sew securely (catching elastic), make sure the stitching is close enough to the edge not to show when you add bias tape.   


9.  Cut two pieces of double fold wide bias tape.  Use the chart to determine length.

10.  Find the halfway point of the bias tape... starting at the middle point under the arm match the halfway point of the bias tape and pin.  (Sandwich the dress between the folds of the bias tape, with the wider side of the tape on the underside.)


11.  Sew bias tape from one end to the other (There should be no raw ends on the bias tape!  Either sew across the bias tape at end to finish or sew in 1/3 from edge to secure).  Being sure to backstitch 6 to 8 stitches where the bias tape joins to the dress and at the ends of bias tape.


12.  Add a pocket and you are all done!!


Saturday, June 1, 2013

Questions


My email suzannesewdelightful@gmail.com


Please do the following!!

1. Make dresses out of cotton... and the fabric or pillowcase should not too lightweight (if you can see the outline of your hand under the fabric it is too light!!)  Yes you can make dresses out of fabric as well as out of pillowcases.
2. The edges should ALL be finished... No RAW Edges!
3. A pocket is nice accent on a dress.
4. Label the dresses on the OUTSIDE on pocket or at hemline.  Please put on the labels before you give them to your Ambassadors if possible.
5. The straps for the dresses must be made out of sturdy material and be long enough!! ( we have a Handbook with details)


I hope this helps... there are still so many girls needing dresses!!

Tuesday, March 26, 2013

From Solid to Special

I know many of the pillowcases out there are a solid color but they can still make very special dresses for little girls in need...

Two things to check with the pillowcases...
1.  NO Micro Fiber
2.  Put your hand under the fabric... if you can see the outline or an image of your hand then the pillowcase is too light

Now that you have chosen your pillowcase please choose some items to contrast with it...

Here are my choices for this dress

Perhaps rick rack is too expensive because you were unable to find it at a thrift store or an estate sale

How about ribbon and some contrasting fabric for the pocket?

Or maybe choose a contrasting fabric and make a band to put near the bottom and also make a pocket out of it.  When making the band be sure and turn the edges under 1/4" and press.  Please do not make pockets or bands without finishing the edge.  They will just fray especially when washed in a river!

I chose to put rick rack over the hem stitching near the bottom of the pillowcase


Now measure the width of you pillowcase... this will determine the size of your dress using the chart that I can send you suzannesewdelightful@gmail.com
Before you cut the length decide if you are going to make a regular casing or the Ruffled Casing.
I want this dress to have a few simple frills added to it because it is such a plain (although very good) pillowcase.  The first thing I decide to do is add a ruffle at the top of the dress... at the casing.  Because I am making the Ruffled Casing I will need to add 1" to the length of my dress... when looking at the chart... Now cut off the top of the pillowcase to the desired length

My pillowcase had to be cut in length because it was too narrow for a larger sized dress
I will be making a size 6 dress

Once you have cut the length you need to cut the armhole.  Using the template cut the armhole 1" longer than the template because we are making the Ruffled Casing


Now press under the top of the dress 1/4" front and back

Usually you would now press the casing a little more than 1" but because I am making a Ruffled Casing. I am going to press the casing about 1 1/2"


Stitch the casing at the bottom edge.

Go back and stitch a second row closer to the top

I use my sewing foot to help me determine where to stitch.  I put my needle in the left position and run the right edge of the sewing foot along the edge of the fabric.  This gives me a row of stitching just about 1/2" from the top of the dress.

I now have two rows of stitching
I will put the elastic in the lower casing... it is also the wider casing

Now please do this final step for all solid colored pillowcases.  Add a pocket.  A pocket makes these dresses so cute and it also gives a little girl her own special place to keep her treasures.

Please follow this link for a tutorial on making pockets


You can sew it on straight or at a bit of an angle.
Finding the right placement on the dress can be a little tricky
I put the pocket on before I add the elastic to the casing but after I have sewn the casing...
that way I can see how long the dress really is but it will still lie flat and it is easier to add the pocket.
I usually place my pockets on the right because most people are right handed
I place the middle of the pocket just slightly lower than half way from the top to the bottom of the dress.

Now you need your elastic... 1" longer for the back than for the front casing and your bias tape

Feed the elastic through the casing and sew at each end to secure it until you sew on the bias tape
Sew close enough to the edge that once you put the bias tape on and sew it will cover this stitching
For more details on this step please see the high waisted dress tutorial
the steps for elastic and bias are the same for any dress.

Sew how did my dress turn out... I added a yoyo and here it is


If you need any help email me at

Wednesday, January 23, 2013

Pocket Tutorial


Most of my dresses above size 1 have pockets on them.  I know this is not the way you were taught to do pockets but these pockets look cute and save quite a bit of time.

First, I like my pockets about 5" x 5" (unless I use the cutout
from the armhole) I always make my pockets 2 layers

I sometimes vary my shape (but keep the 5" width)

Fold over 1/4" of fabric at top

There are several things I like to use to accent the pocket.
One of my favorites is a vintage hankie.  Take 1/4 of a hankie... cutting it the same width as the fabric but about 1/2" above the top of the fabric.  Fold over the hankie at 1/2"

 Place hankie on the fabric so you have a finished edge at the top

If you are using lace as an accent cut it a little longer than the fabric and place on top

          Using rick rack cut it longer than the fabric and place on top
                             
Place you second piece of fabric on top with right sides together and pin. Sew together the sides and bottom leaving the top open

                                Clip corners and cut extra lace or rick rack off

    Turn the pocket right side out using a pointer to push corners and iron. If you have fabric showing at the top just push it into the opening
                                 
Stitch across the top making sure that you catch the folded over fabric inside and then add any accents

I often add a heart to the pocket
Buttons make an adorable accent!  
Just make sure you located them so that you can sew the pocket onto the dress

When sewing the pocket onto the dress be sure and backstitch at the beginning and the end!!

                                      Happy Sewing

Wednesday, December 12, 2012

T-Shirt Dresses

This another quick and easy dress that is suitable for some cultures where they require the girls to have sleeves.  I often have people ask where I get the t-shirts... well I use my Kohl's coupons for $10 off and shop the clearance racks.  I also shop at Goodwill, Value Village and garage sales... but there is a word of warning.  Please make sure that the t-shirts are "like new"... no visible signs of wear.  Also, please do not use t-shirts that have writing (even Daddy's Little Girl may not be appropriate if a little girl has never known her dad)... No skulls, no patriotic symbols, no organizational symbols... just generic designs like flowers and butterflies or plain solid colored t-shirts.

The first thing you have to decide is do you want the fabric attached in a high-waisted style, at the natural waist or at the hip.  All three work well... sometimes the design dictates where the fabric should be attached.

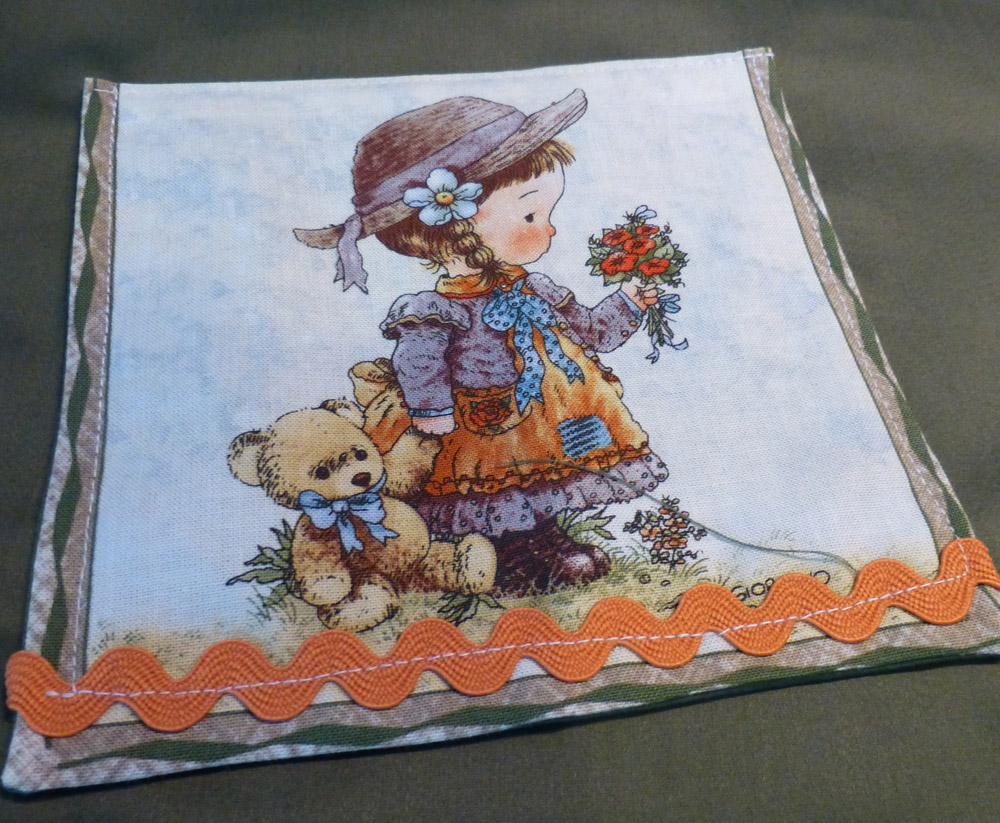
Here is an example of a dress I made yesterday...


I like to choose bright colors as you can see.

The first step is to find the size of your t-shirt and
then use this chart to determine the full length of your dress

Size                                     Total Cut Length (including t-shirt and fabric)
Baby  (size 1/2 and 1)                           16"
Extra Small (size 2  and 3)                   20"
Small (size 4 and 5)                             25"
Medium (size 6 and 7)                         29"
Large (Size 8 and 10)                           33"
Extra Large (Size 12 and 14)                38"

These sizes include 1/2" for hem and 1/2" for serging together... so the finished length is 1" shorter.

Lay your t-shirt over the edge of your cutting board.  The chart is for our regular pillowcase style dresses, so we are not measuring from the top of the t-shirt... we are measuring from the point that would be the same as the top of a pillowcase dress.  I always put my hand on my chest and visualize where I would want the top of a dress to be and that is the point on the t-shirt we will measure from.


I decided to make a slightly high waisted dress.  The measurement from the top middle chest to where I cut the t-shirt is 5"  Now I subtract that 5" from the total length of a size 3 dress (which is 22") and I need to cut m fabric 18" long (this includes the extra 1"… see above) by the full width.  I want my fabric to be about double the width of the circumference of the t-shirt so on larger dresses I might need to cut 1 1/2 lengths of fabric and sew a seam to get this double the width of the t-shirt.  Depending long how long you cut your t-shirt… you will adjust the length of the shirt… not all dresses need to be high waisted…you can also make the dress at the natural waist or even a low-waisted dress.


Sew the side seam and then finish the bottom of your fabric.  Make sure that you finish your side seam... by either serging or by sewing a straight stitch and then a second row of zig zag stitching...
so that the seam does not ravel.


I chose to add lace to my hem.  You can also do a traditional hem or a rolled hem.


If you are using the traditional method for gathering fabric pull your bobbin thread to the top


Set your machine onto it longest stitch.  For my machine that is a 5
Stitch two rows about 1/4" apart


I have not done a side seam because I am not doing the traditional way of gathering
(I will show you how I gather in a moment)

Now you need to pull your gathering stitches gently forming gathers


Gather your fabric the amount you need to fit onto your t-shirt
Using a serger or a zig zag stitch with right sides together attach your gathered skirt 
to the bottom of the cut t-shirt


Now for the way I am doing my dresses...
My serger has a ruffling foot
Check you machine and if you have a ruffling foot it can save much time on the gathering part of this project.  You will need to follow the instructions for your machine.


On my machine I ruffle or gather the fabric and attach it to the t-shirt in one step… 
using this method you do not sew the side seam!!
The fabric is placed face up under the ruffling foot and the t-shirt is placed face down into the slot on the ruffling foot.  The serger automatically gathers the bottom fabric while attaching it to the t-shirt.  You have to be careful to ease your t-shirt gently so that you do not run out of fabric.  Some rufflers just gather the fabric and then you attach to the t-shirt in a separate step.
This saves so much time when making a t-shirt dress
Once the fabric is attached I sew the side seam

And you are done!!


If you have any questions about the process please email me at
I found that this process is actually easier to do than it is to explain how to do.