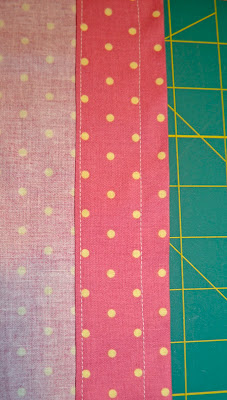
First, I cut a length of fabric 11" long... and the full width of the fabric...I was using scraps so mine is actually two pieces of fabric 11" long by 21" wide that I needed to sew a side seam
Only sew one side seam if you are using a ruffling foot because your fabric needs to be open on one side
I then made the ruffle 19"long x 88"
(I used two lengths of fabric 19" long x 44" wide and sewed them together again only sewing one side seam leaving a long piece of fabric)
I used my serger to make a rolled hem
Then I used my ruffling foot to add the ruffle in one step...
you place the fabric to ruffle on the bottom (face up)
and the bodice of the dress (face down)
The machine ruffles and attaches the two together all in one step
You can also do this step by hand...
stitching 2 long running stitches (stitch length 5) side by side
along the full width of the fabric to be ruffled, near the top
and then pull the threads, adjusting the width of the fabric
until the ruffled piece fits with the bodice piece and then sewing together
Iron the dress... (when using a ruffler you sew the last side seam after you ruffle and attach the bodice)
We are making a different casing so
Cut out the armhole 1" longer than the template
(I have also found that I like my armhole a little narrower than the template)
Press over the top 1/4"
Both front and back
Press over the fabric again... this time at 1 3/4"
Both front and back
Now stitch across the fabric at the lower edge
And then sew across the top 1/2 from the top
Cut elastic 7" for the front of the dress and 8" for the back
Put a safety pin into the end of the elastic
Insert the pin and elastic into the center part of the casing
Do Not insert the elastic in the top part of the casing this area will form a ruffle
Stitch the ends of the fabric and elastic to secure the elastic
Cut two pieces of bias tape... each 34"
When you look at your bias tape one side is wider than the other side
Be sure and put the wider side on the inside of the dress
Find the half way point of the bias and the half way point under the armhole
and match them up pinning them together
Squeeze the end of your bias tape so that the edges are not as wide as the tape...
this way the edges will not show when you sew the end of the bias tape
Then fold over the bias tape
When I start sewing my bias tape I start a little to the center of the tape at the end
and then ease over to the edge and continue sewing at the edge
Make sure that the wider side of the bias tape is on the bottom this way if you are catching the top of the bias tape you will be sure to sew on the wider bottom part of the tape.
Always back stitch at the beginning and also at the end of your sewing
Also, be sure and back stitch where the bias tape meets the dress
If you have an questions just email me at


Suzanne, This is wonderful! You make the most adorable dresses. I love the frills and the fun fabrics. Thanks so much for taking the time to help us all make "the best dress ever"!!
ReplyDeleteCarol this is sew much fun!! And I have to thank my hubby for the cool macro lens he gave me to make the closeup shots possible!!
ReplyDeletevery very cute. I love it.
ReplyDeleteSuzanne, Do you make your own bias tape? I haven't figured that out yet, but the biaa tape is the most expensive part of the dresses.
ReplyDeleteYes Carol I do make my own bias tape... I bought a simplicity electric bias tape maker on ebay for $50... and it has saved me so much money... I use mostly donated solid colored fabric to make the bias... it is pretty easy with the maker... watch Jo-Ann's or here we also have Hancock Fabric... sometimes they will have 50% off coupons. Right now Overstock.com has them for $56.47 but they are at a very high risk of selling out
ReplyDelete